Showing posts with label Amish Mini. Show all posts

Saturday, November 16, 2013

Minimal[ist] Progress

I finally took the time to jump in and start playing with very small made fabric! Here is my inspiration for the "mini challenge" the cover of this book.

First I dug through my stash for solids including some from a mini charm pack that somehow found its way home with me and part of two mini charm packs that I got in my goodie bag from the Quilt Alliance, Quilters Take Manhattan home ticket. I also used yardage cut into 2" wide strips. I cut the triangles with my "peakie" ruler. I had to trim off 1/2" from the 2 1/2" squares, then cut the triangle shape.


I used the same technique to cut the little made fabric pieces as well. 

Each row is going to have 8 triangles and two setting triangles on the end.


I cut those with the "spike" ruler, also from 2" pieces.


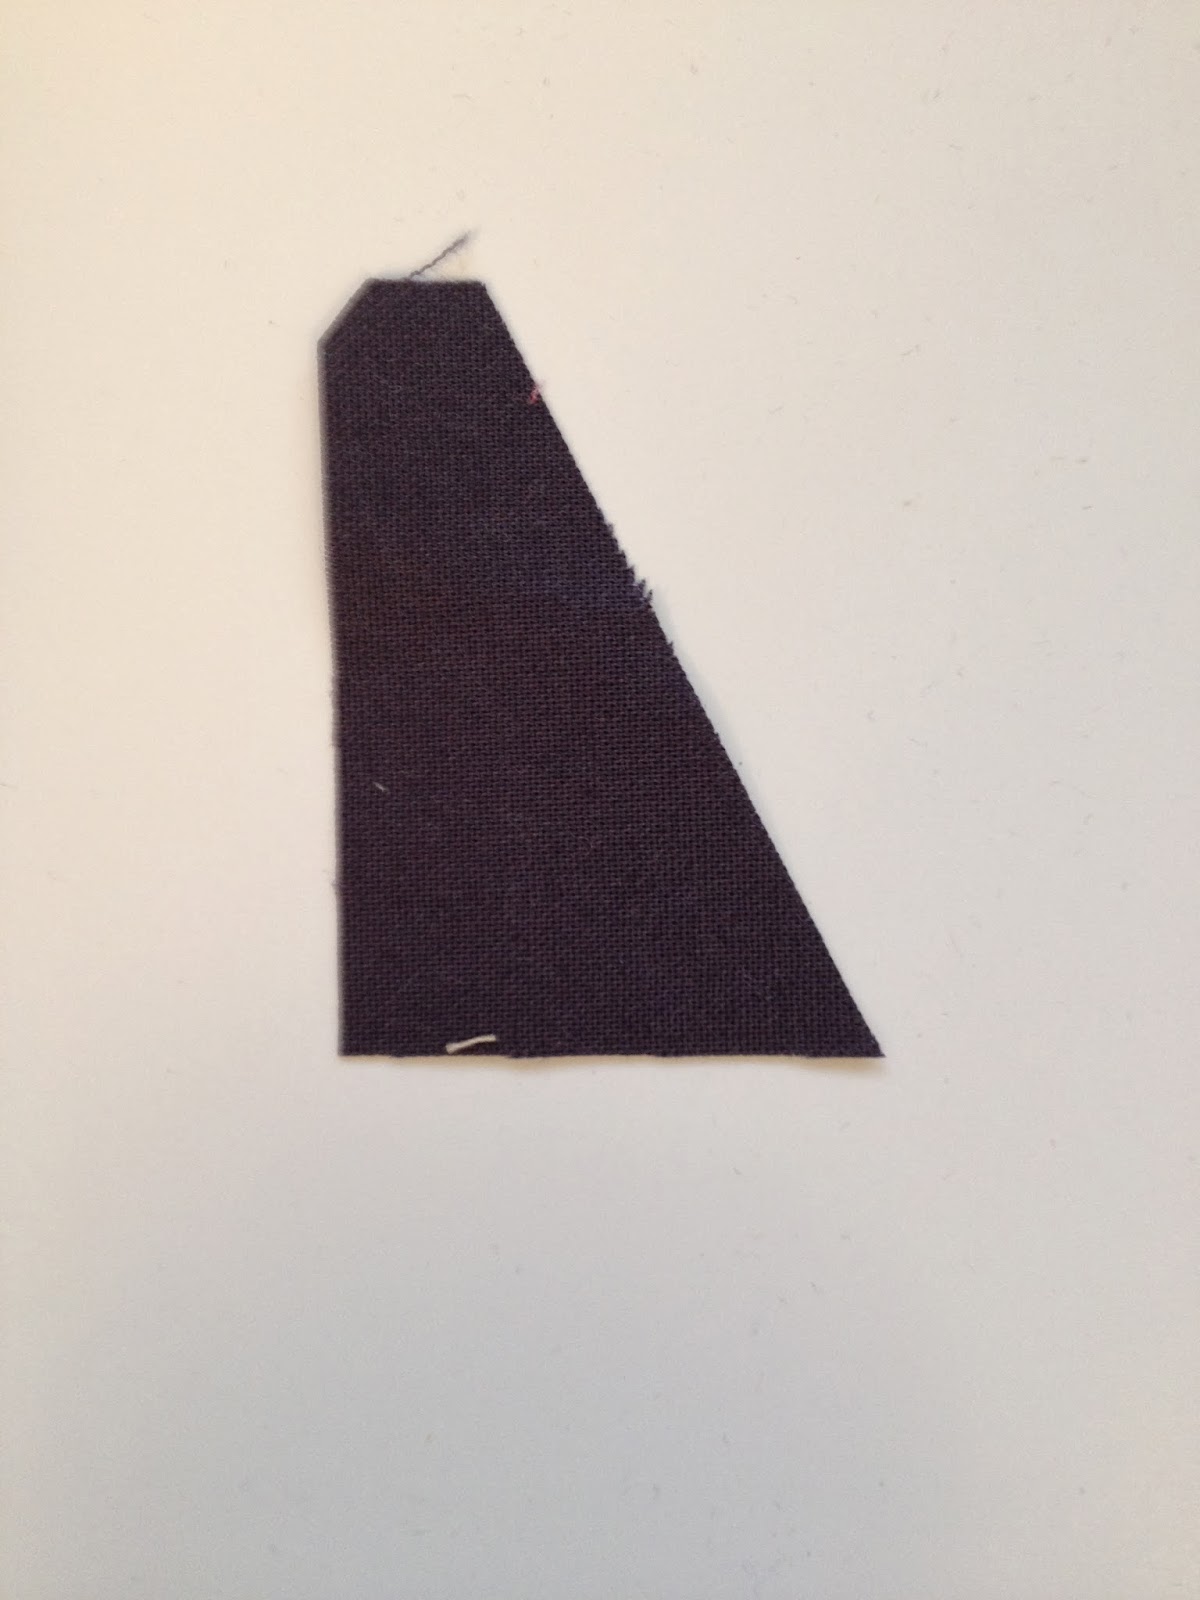
The little notch at the top of the spike ruler helps you to align the setting triangle for sewing.

I've got two rows done so far and now I'm working on making more tiny made fabric.
This is fun! Thanks for the challenge, Victoria! :D


Wednesday, October 30, 2013

Brenda's Amish crazy mini, all finished!

 
Here's my 12 by 12 inch mini for the challenge.
It took me only two hours to make, and then nearly a week to photograph it!
 

I used up bits and pieces from a solid string star quilt I'm working on.
That centre piece measures about 4 by 6 inches and
contains about 50 pieces.
 
I used up the triangle off-cuts from making binding
and the grey sashing was left from another project.
 
I had enough leftover green binding to make it nearly around the quilt,
and added some yellow to finish.
 

You can see the quilting on the back.
I used feathers in the borders
and wobbled heavy black thread through the crazy part.
 
Now it's ready to gift
and hang in someone's house!
 
Thanks Victoria for a great challenge.
I love making something from nothing
or next to nothing.

Saturday, October 26, 2013

Mini-Amish Bars

Added the last border to my mini. It now includes all my favorite colors:

This is decorating my design wall while I ponder how to quilt it. Would like to do something simple by hand (maybe after a few strategic in-the-ditch lines by machine). No quilting plan yet... your suggestions welcome!

Friday, October 25, 2013

Diamond-in-the-Rough


Miniature top done!  I had a jolly time playing with all the red silks in this piece.  Started out by making a fan.  It was nice, but it just didn't look right along side the 'made fabric' neutral background.


Then I tried cutting up the fan and making 3" squares for the center.  That was fun!  But the neutral 'made fabric' took away from the main event...


So I abandoned the 'made neutrals' and went with the remaining solid silk pieces....all except for those corner blocks.  I had run out of reds by then, so they are totally random, too.

Now comes the quilting question....  I wish I could FMQ some little Amish feathers in the solid triangles, but I know my limitations.  Any volunteers???

Wednesday, October 23, 2013

Mini Crumb Bars

Sounds like a tasty snack, but I'm referring to these:

Lots of slicing and dicing reduced my not-so-teeny solid scraps to a playful jumble. Each bar is 2"x8".  To make the bars I sewed scraps together until I had a decent sized clump a few inches across, then trimmed to about 2.25-2.5" wide. Those trimmed bits were combined and built on to make longer pieces, and when they got close to 8" long I pressed (vigorously, with lots of steam!), trimmed to 2" wide, and finished off the ends. 

I confess that I did not keep the teeny crumbs produced by this process, although some were big enough to sew to something else with a teeny seam. I have lots more scraps to play with, and have decided that anything under a square inch is my "too small to keep" line.

Was going to stop there for the day, but playing with fabric is more fun than facing the paper piles on my desk, so I added light yellow spacer bars and a first border:
The pink cornerstones will finish at 3/4". Another border will bring it up to 12.5" (with seam allowance). More pics to come.