
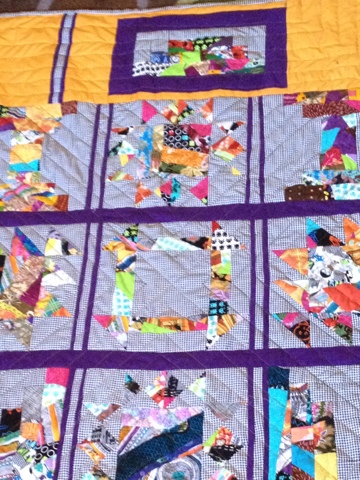
For this block of the month, we're going to take a classic quilt block, the churn dash, and pizazz it up with made and slashed fabric. This tutorial will make 2-12 1/2" blocks with the effect that the churn dash shapes were cut from each other and are floating on top of the background. This would be a great block for using a large or directional print for the background/contrast fabric.
First- make fabric!1. Start by sewing a 14-15" square of
made fabric. Add a slash or two- it will look best if your slash goes somewhere near the middle of the block. Trim to 14 1/2".
Cutting1. Cut a 14 1/2" square of contrast fabric.

2. Now, cut each square into an uneven 9-patch by slicing a 4" strip off of each side, making sure to keep the pieces in place. You will have:
1- 6/12" center square
4- 4" x 4" squares
4- 4" x 6 1/2" rectangles

3. Next, cut each 4" x 6 1/2" rectangle in 2 the long way, again making sure to keep track of each piece's position in the 9-patch. You will have 8-2" x 6 1/2" rectangles for each block.

4. Finally, cut each corner square on the diagonal. Make sure to cut the diagonals framing the center square for the made fabric, and also if you are using a large or directional print for your contrasting fabric.
 Arrange the Pieces
1. Start to switch out the pieces closest to inner circle, making sure to swap for the piece in the same position form the other block to get the effect that the contrast churn dash is floating on top of you made fabric and vice versa.

2. The two churn dashes emerge once you switch out all the pieces.
 Sewing
1. Sew the corner triangles with a scant 1/4" seam to make half-square triangles. Trim to 3 1/2" square.

2. Sew the rectangles together along the long side. Usually I chain piece and throw it all together, but for this block, I pinned, and sewed one pair at a time so I could keep all the pieces aligned.
You will have 4 3 1/2" x 6 1/2" rectangles. Remember to keep them in their places!

3. Press the rectangles and half-square triangles open with the seams towards the contrast fabric. When you lay out your block, you will have:
1- 6 1/2" center square
4- 3 1/2" corner half-square triangles
4- 3 1/2" x 6 1/2" rectangles

4. Now sew the side pieces onto the center pieces.

5. Press with the seams of the center section towards the contrast fabric. Press the seams of the top and bottom section in the opposite direction.

5. Sew the top and bottom onto the middle section.

6. Press the seams toward the contrast fabric.

Ta-daa! Your block is done!

Now go back and repeat the sewing steps for the reverse block.

Enjoy!


 We're going to begin by making four flying geese units using the four made rectangles and the eight background squares.

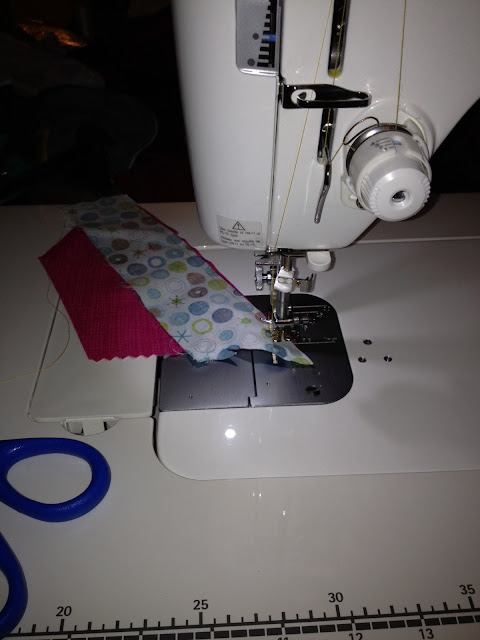
 When I have double-checked the position of my ruler I make the cut.


 So I will be cutting along the right edge of the ruler as you're looking at the picture above. Once I've made my cut, sewn the seam, pressed the background out, and have done the same for the other three units, I have four flying geese units:

 Again, in order to accomplish that I have to turn the patches around so that I'm working from the top of the unit. This time you will be laying the ruler on the back of your made fabric. Cut off the corner, sew the seam, and press the rectangle out. (Or draw a line, sew the seam, trim off the excess, and then press.) Then do the same with the other three rectangles.


 Sew these together the way you would any other four patch block and you'll have your finished Seesaw block!

 I have barely gotten a chance to sew this summer- but I carved out a few minutes today to start getting caught up on the Blocks of the Month. I thought it would be fun to accentuate the structure of this block with stripes!


 Enjoy!